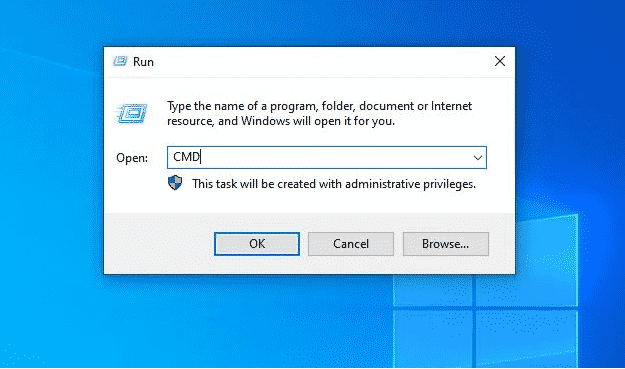
Here are the 4 methods discussed in this guide: Due to the unique problem presented by this guide’s issue, the steps use keyboard shortcuts.
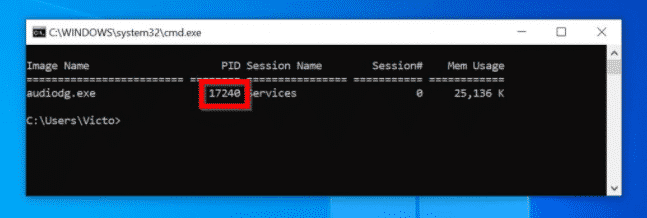
To fix the black screen problem in Windows 10 with this method, follow the steps below: The command returns the task details of the Windows Audio Service on your PC. Note the PID. In this example, the PID of the Windows Audio Service on my PC is 17240.
The command may return “INFO: No tasks are running which match the specified criteria.” This means that the audio service is NOT running on the PC. If this is your situation, proceed to the second method to fix the black screen in Windows 10.
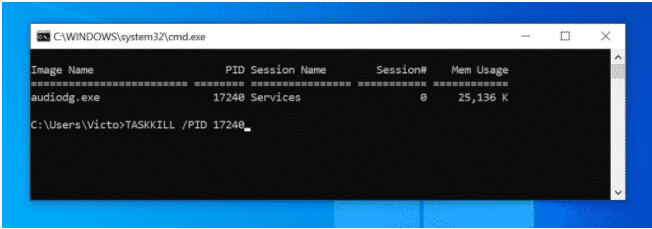
But, if, on the other hand, the command returned a result, to kill the audio service, type the command below. Then press enter key on your keyboard.
TASKKILL /PID <audiodg.ex-PID> Replace <audiodg.ex-PID> with the PID from the last command. In my example, I used the command below: TASKKILL /PID 17240
Sometimes the above command may return an “access denied” error. This may indicate that the logged-in user does not have permission to stop the audio service. In this situation, type a command like this sample command.
TASKKILL /PID <audiodg.ex-PID> /U
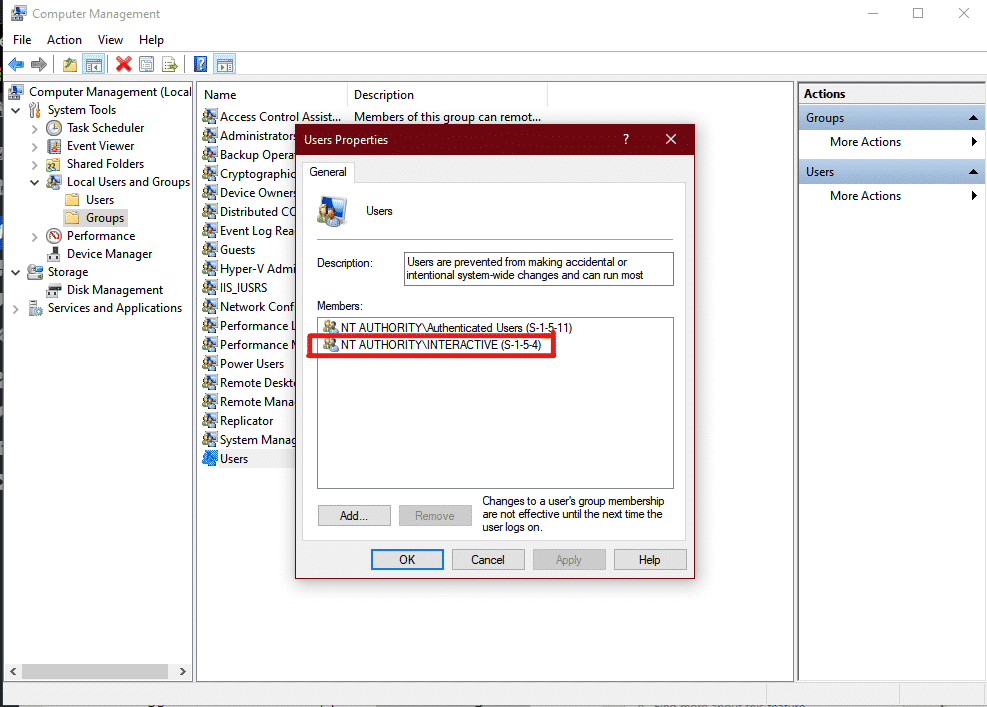
Adding the “NT AUTHORITYINTERACTIVE” account to the Local “Users” Group may also fix the black screen in Windows 10. Here are the steps to try this fix
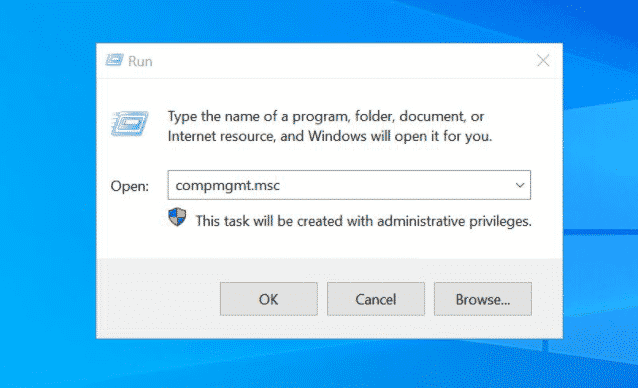
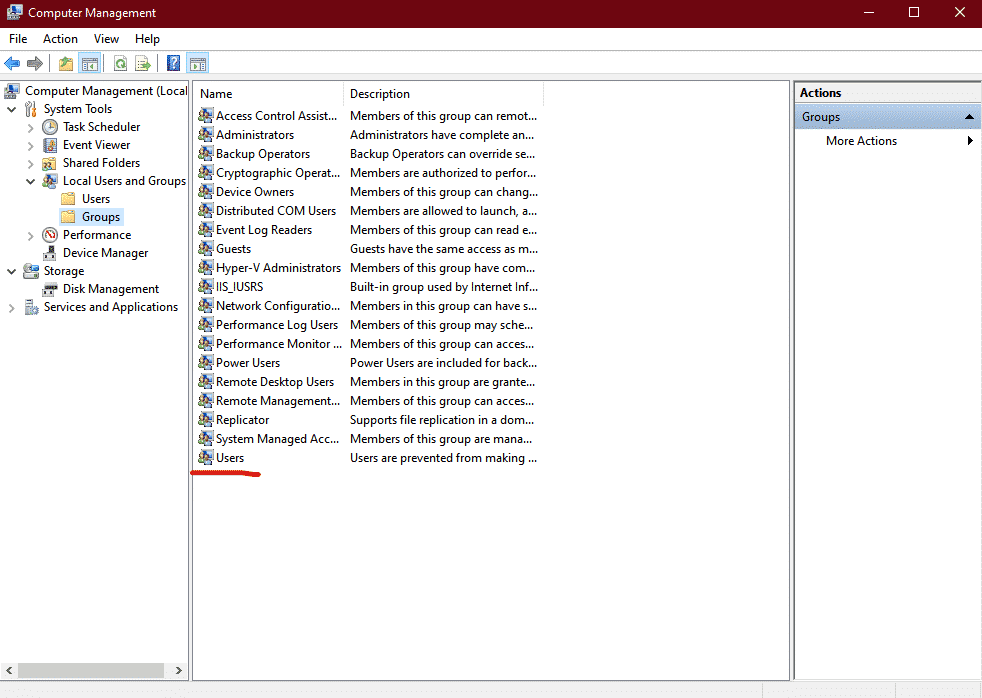
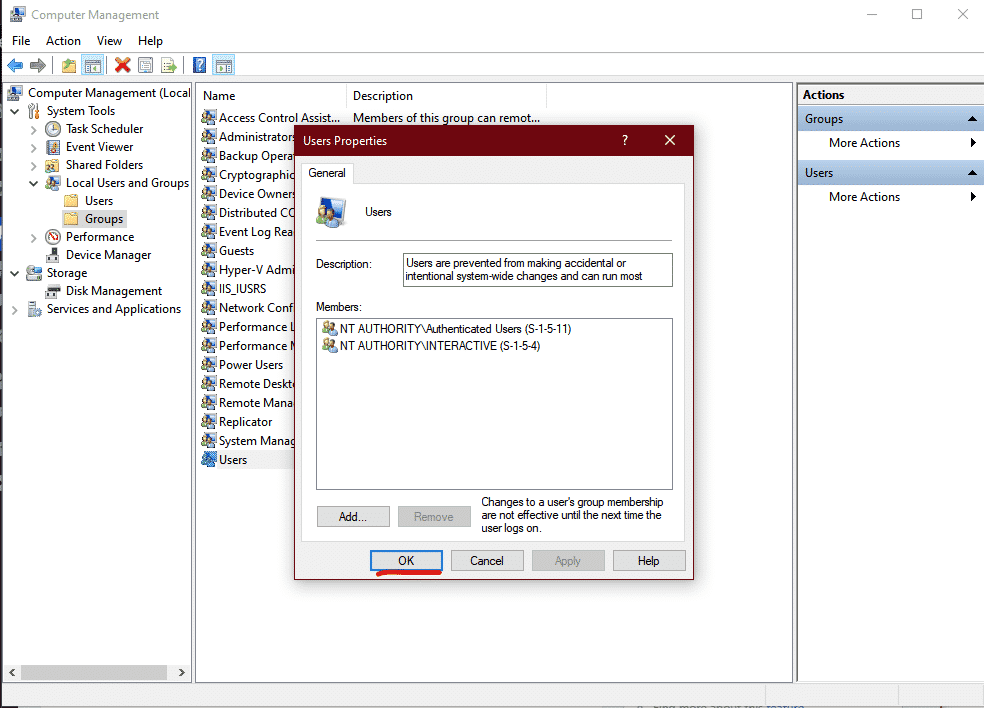
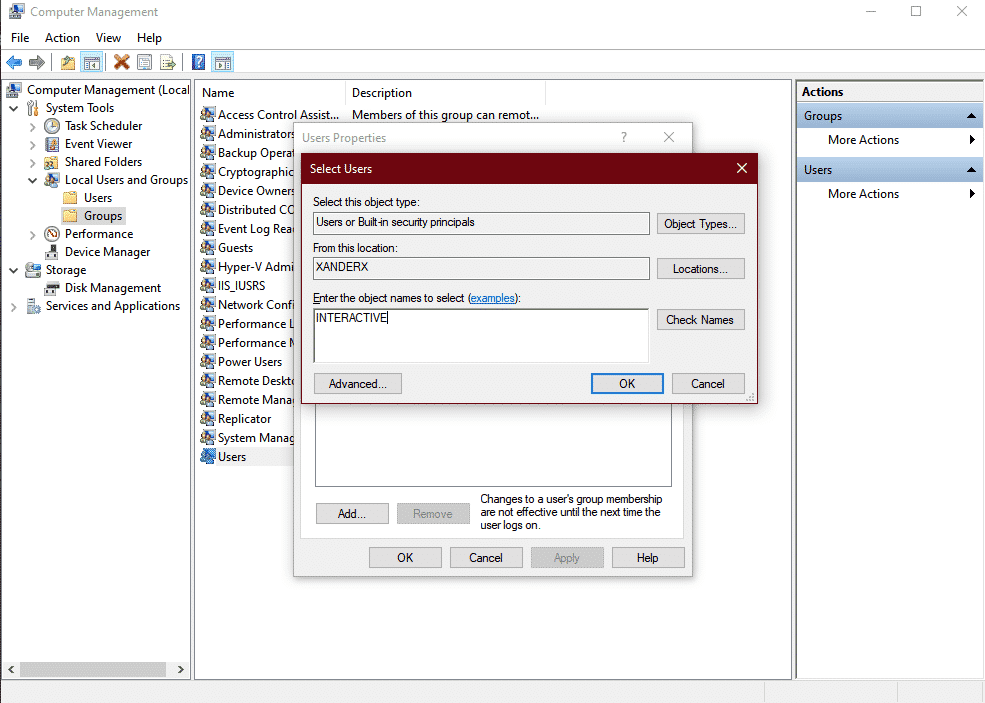
While logged in to Windows 10, press Windows logo + R on your keyboard. The RUN command will open. At Run command, type compmgmt.msc and click OK. Computer Management MMC will open. When Computer Management opens, expand Local Users and Groups (click the right-pointing arrow). Then click on the Groups node. Finally, on the details pane, double-click Users group. When User’s group properties open, click Add. Then, at the Select Users screen, type INTERACTIVE. Then click Check Names. INTERACTIVE should now be underlined. Click OK. NT AUTHORITYINTERACTIVE will now be listed as a member of the Users group. To save your changes, click OK.
Before you proceed to the next method, restart your computer. Then when you log in to your PC, check whether the black screen problem is resolved. If not, try the fix in method 3.
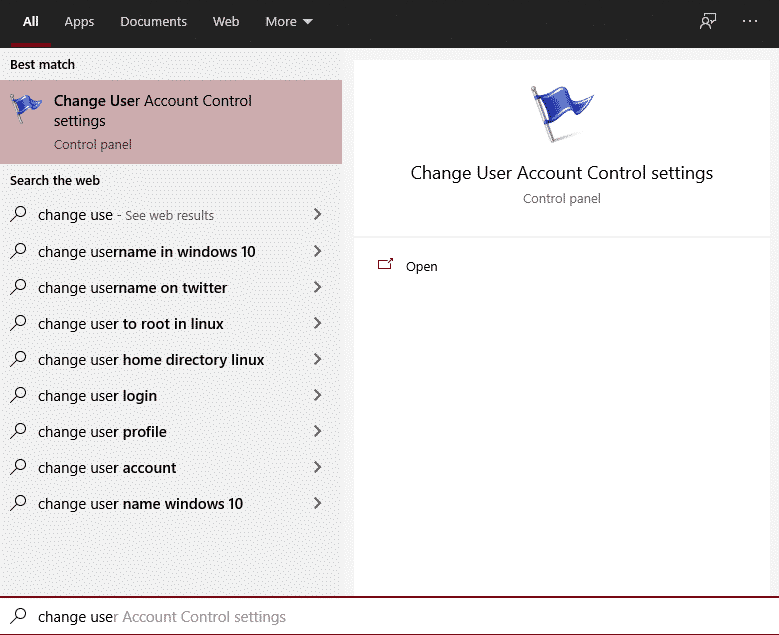
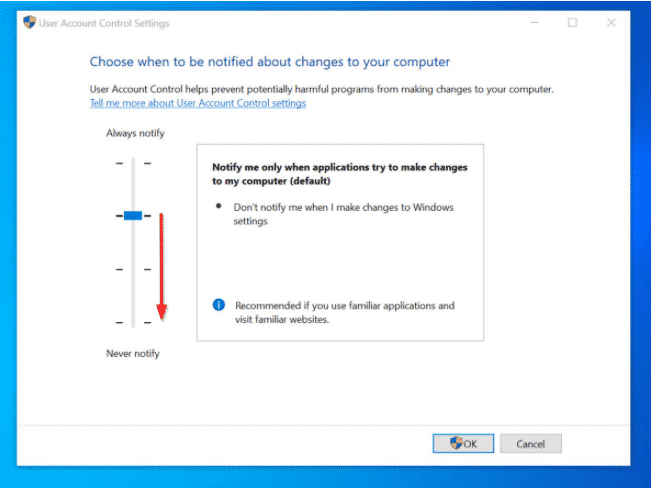
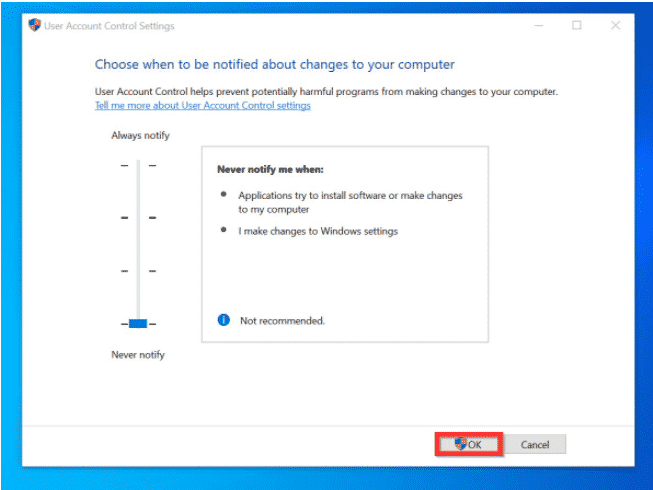
Type user account control in the search bar. Then, click Change User Account Control settings. Move the slider down to Never notify. To save your changes, click OK.
If this does not fix the black screen Windows 10 problem for you, try this,
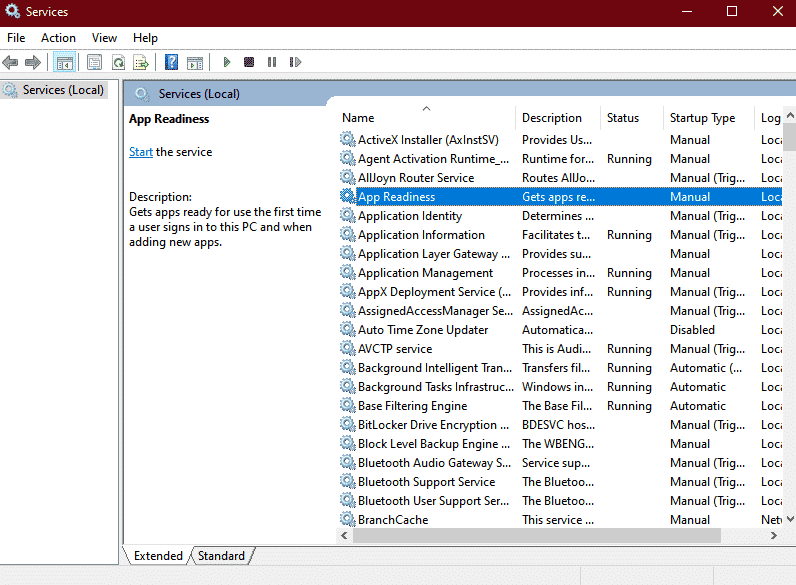
Disabling the ‘AppReadiness’ Service can also resolve black screen problems. Here are the detailed steps to apply this fix.
Press the Windows logo + R on your keyboard to open the RUN command. At Run command type services.msc. Then click OK. When the Services console opens, double-click App Readiness service. Then change the Startup type to Manual and stop the service. Finally, click OK.
This is how you will able to fix the black screen. We hope this article might have helped you in solving the issue.
