Table of Contents How to Disable Windows Update & Defender on Windows 11?Methods to Disable Windows 11 UpdatesTemporarily Disable Windows 11 Updates:Disable Windows 11 Updates Permanently:Methods to Disable Windows Defender on Windows 11Temporarily Disable Windows 11 Defender:Disable Windows 11 Defender Permanently:How to Reverse the change?The bottom line Windows 11 will continue forcing its users to update its components, and the Defender will continue blocking all threats. You might not notice it, but it happens overnight whenever you turn on the system. Moreover, a restart is required after every update.
Like Windows 10 users, most people look for the process to disable Windows Update & Defender on Windows 11. You are here to prefer control over the automatic updates and defender settings. Let’s look in detail. Read- How to Save A Notepad File as PDF In Windows 11
How to Disable Windows Update & Defender on Windows 11?
It is possible to control the Windows 11 update and defender settings. You can stop the automatic updates and default antivirus programs easily. You can get a break from such updates and unwanted restrictions on Windows Defender. We have added multiple methods to stop or disable Windows updates & defenders on Windows 11. Let’s get it started with Windows 11 updates.
Methods to Disable Windows 11 Updates
You can turn off automatic updates in Windows 11 using the temporary settings or disable them permanently. We have added both methods to disable it temporarily or permanently.
Temporarily Disable Windows 11 Updates:
You need to open settings in Windows 11. You can do this by clicking on the search icon from the taskbar. You need to click on the Windows update from the left panel. It is usually at the bottom. You will find the Windows update settings. Click on the “More Updates.” button.
Just click on the pause updates button. Your Windows 11 update will temporarily get disabled for a week or two.
These settings will help you disable the Windows update for seven days. You need to follow these steps again after seven days to stop getting automatic updates on Windows 11.
Disable Windows 11 Updates Permanently:
It is for the people who never want to update their windows and want to disable the automatic updates for a little longer. Yes, it is possible. You can disable Windows updates on 11 using the Windows Registry service. It is a permanent solution. Still, you will be able to install updates manually by going to the settings.
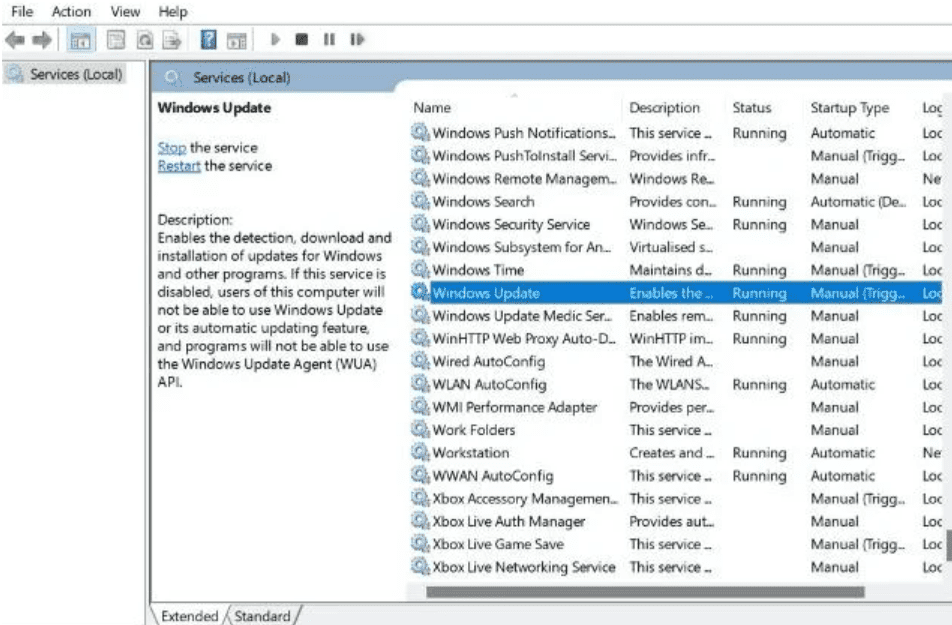
Hit the Windows + R key together. Run dialog box will open. You need to type ‘services.msc’ in the Run dialog box and press the enter button.
Windows Registry Service will now appear. You need to scroll down within the Services (Local) until you find the Windows update option.
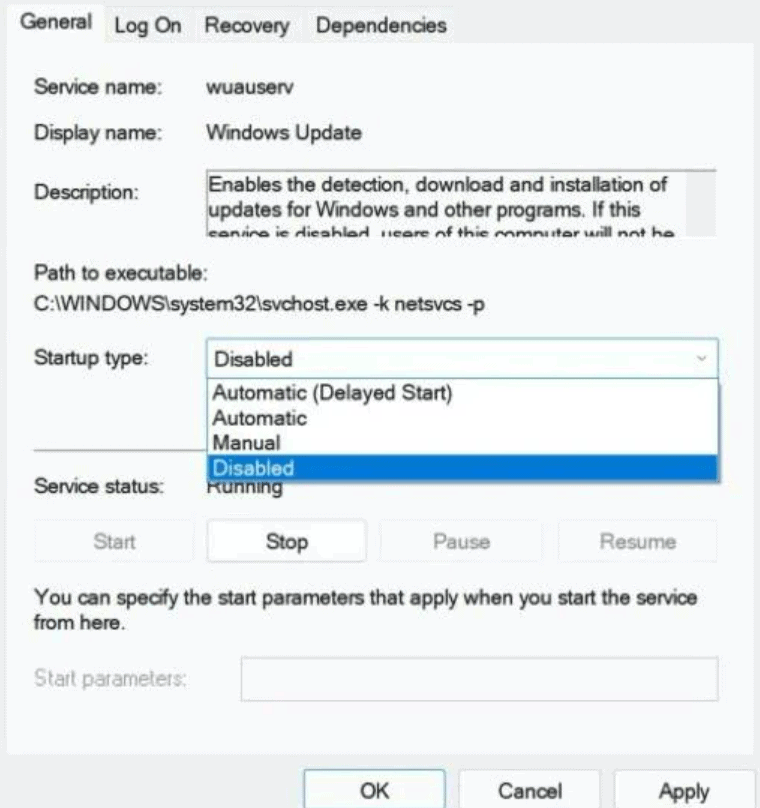
Just click on it. Please go through the properties and their general options. Choose the startup type and select Disabled from the drop-down menu.
Last, save the settings and restart the computer to see the changes.
That’s all. Automatic updates for Windows 11 are now permanently disabled on your Windows. You can still update it manually by visiting the settings option. You may also like to read:
Download PicsArt For PC (Windows 11/10/7/8) Latest 10 Best PDF Password Remover Tools For Windows PC (Updated) How to Convert EXE to APK (Windows File To Android)
Methods to Disable Windows Defender on Windows 11
We understand the concern. Sometimes, Windows Defender blocks the essential files we want to download. It is impossible to download any specific file into the system until we disable the Windows Defender program. Note: Keep in mind if you install any third-party antivirus program. Windows Defender will get disabled automatically. Still, it is possible to disable Windows Defender on Windows 11 temporarily and permanently. We have added both methods below.
Temporarily Disable Windows 11 Defender:
There is nothing complicated about it. You can temporarily disable the Windows Defender services to download or install any file. We do not suggest disabling it permanently as it will open up upcoming online threats to the computer. Anyway, let’s get started.
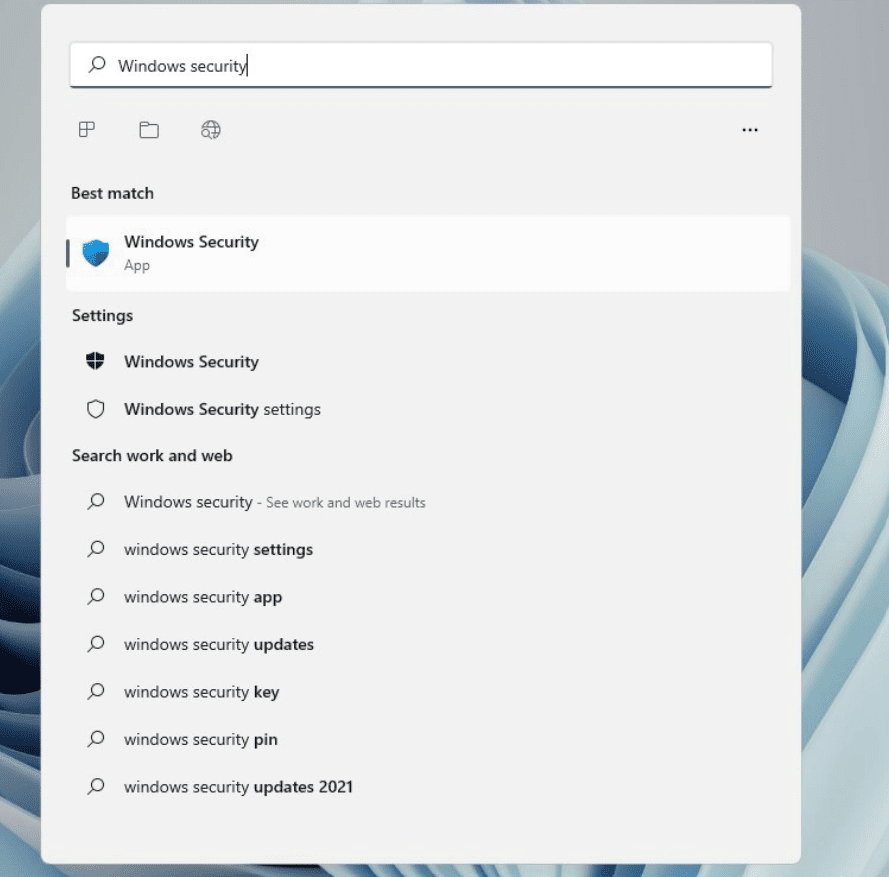
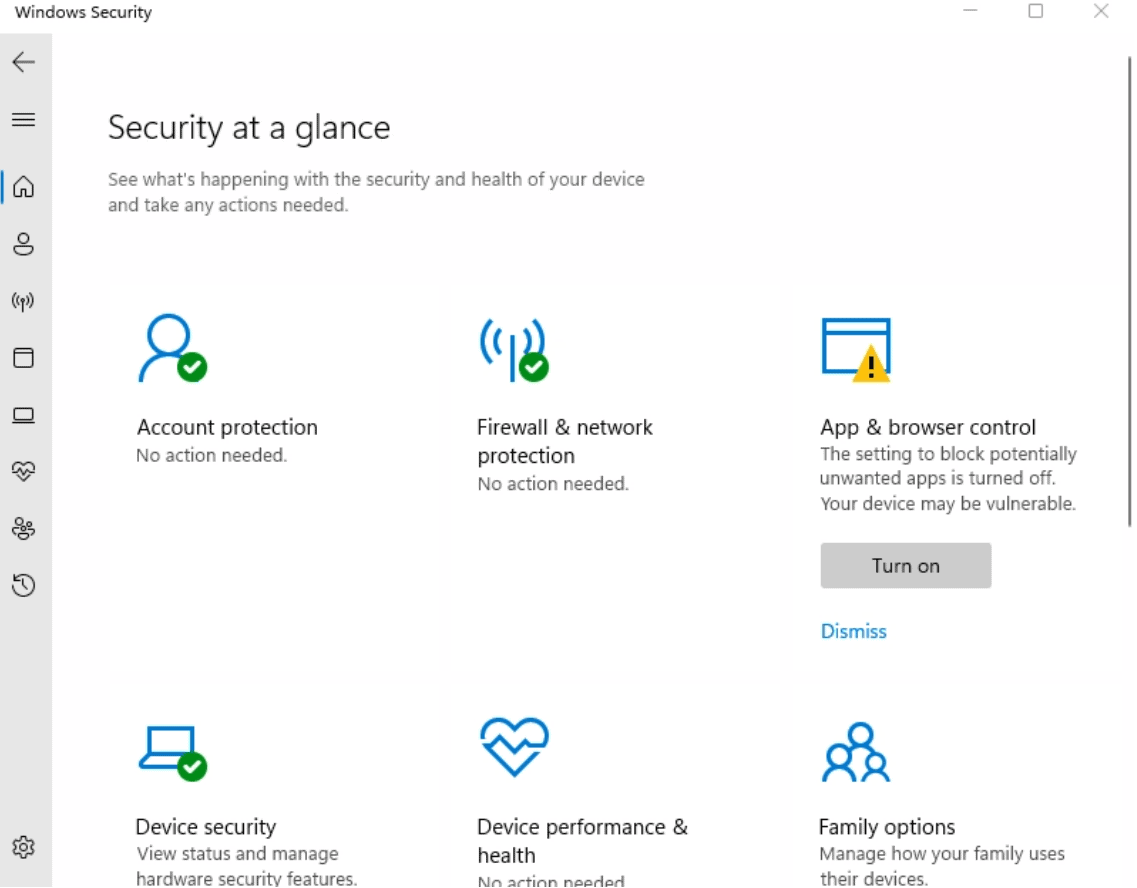
You need to open settings in Windows 11. You can do this by clicking on the search icon from the taskbar. Search for Windows Security, and you will find the Windows Defender settings.
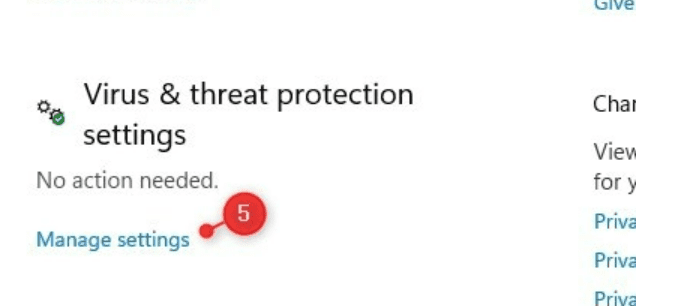
You now have to click on the Virus & Threat option. After that, click on the manage settings.
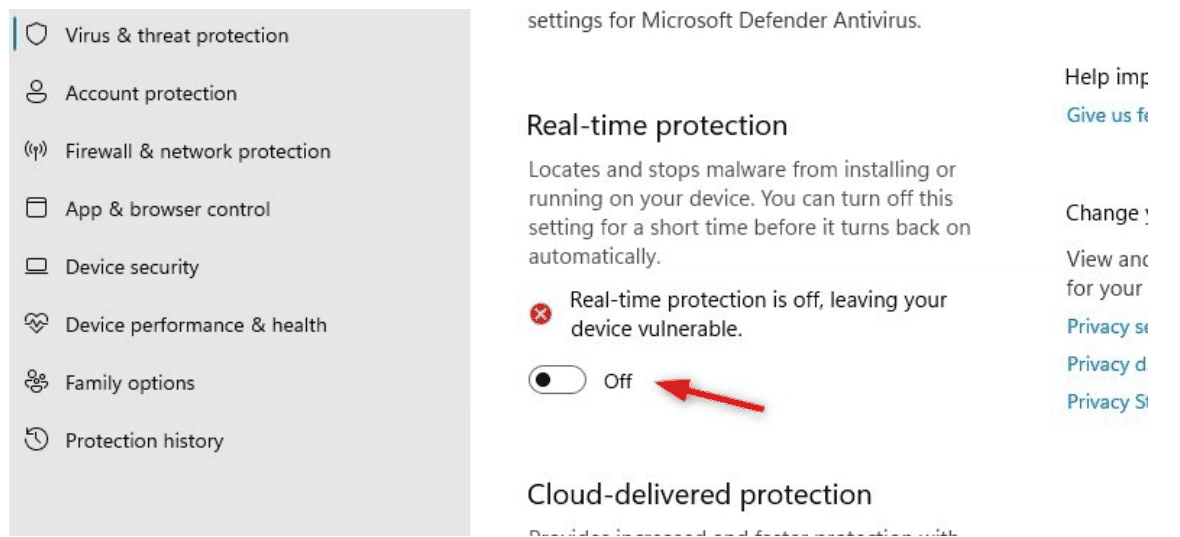
You will now find the option to disable real-time protection. Just toggle the bar into the left side.
It can help you disable Windows Defender temporarily on your Windows 11.
Remember, the real-time protection will automatically turn on when you restart the computer. Moreover, it just disables Windows Defender for some time.
Disable Windows 11 Defender Permanently:
It can be challenging to remove Windows 11 Defender Permanently. It was not difficult to permanently disable automatic updates on Windows 11, but disabling the Defender is complicated.
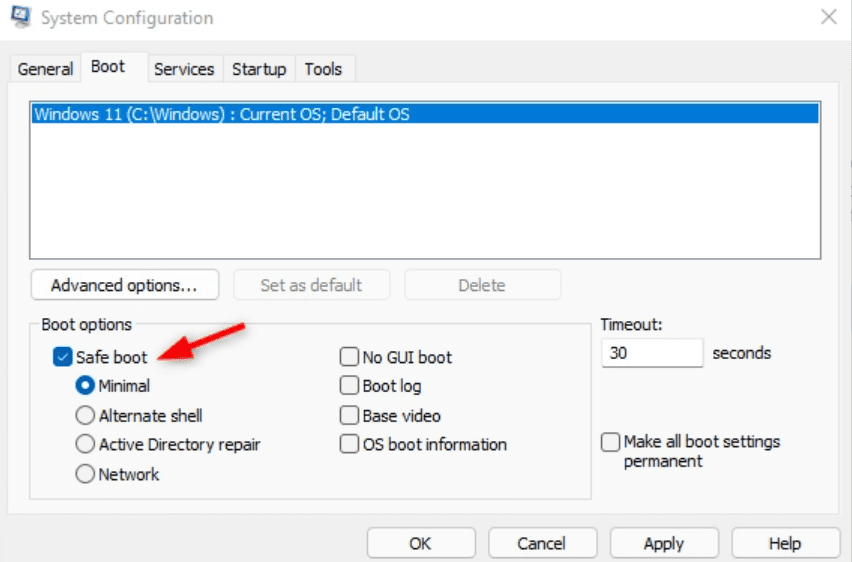
First, you need to boot into safe mode. It is impossible to access this file’s ownership of MsMpEng.exe without getting into safe mode.
You can go to the safe mode by:
You now have to take ownership of the Windows Defender program. You can do this by:
We have changed ownership. You now have to change all the permissions. Just go through the permissions page and tick on the program’s replace owner. Click on the remove button and do this for every entry. Select replace and do this for every setting. Click on the Save button. Again, go through the MSConfig option to disable the safe boot. Now, restart the computer and visit the settings of Windows 11. You will now find that the Virus & threat option is completely gone.
That’s all.
By following this method, you will be able to disable Windows 11 Defender program permanently from the computer.
How to Reverse the change?
If you no longer want to disable Windows 11 Defender program and wish to activate it again. You need to restore the complete settings by default. By doing it, the Windows Defender program will get active again on your computer. However, we do not suggest a permanent solution to anyone as it can be risky and damage severe files in the computer. Please do this at your risk.
The bottom line
We value your time and efforts. You are looking for a solution to disable Windows Update & Defender on Windows 11. So, we have added the same in this article. You can find all the temporary and permanent solutions to each problem. But please follow anything at your risk. Cartel Press is not responsible for any damage to your computer. Still, you can ask us the relevant queries in the comments below.


